The joy of laying hands on a brand new latest iPhone [ especially first timer ] can skip you over some important things but keep calm and do the necessary first things to do when you get a new iPhone.
Though the iPhones don’t come with a factory-made manual, apple releases every iPhone series manual online that you can access which will help you in the first things to do when you get a new iPhone. You can download here
This guide walks you through the first things to do when you get a new iPhone (and a 13th if the iPhone is for your child). These tips only scratch the surface of what you can do with an iPhone, but they’ll start you on your path to becoming an iPhone pro.
CREATE AN APPLE ID
To use the iTunes Store or the App Store you need an Apple ID, also known as an iTunes account. This free account not only lets you buy music, movies, apps, and more at iTunes, it’s also the account you use for other useful features like iMessage, iCloud, Find My iPhone, FaceTime, Apple Music, and many other awesome technologies on the iPhone. Technically you can skip setting up an Apple ID, but without it, you won’t be able to do a lot of things that make the iPhone great.
INSTALL iTunes
Although Apple is about to retire the iTunes program for Mac owners, it’s much more than just the program that stores and plays your music. It’s also the tool that lets you add and remove music, video, photos, apps, and more from your iPhone.
Get instructions on downloading and installing iTunes on Windows. On a Mac, use iTunes if it’s on your computer, otherwise use the new Music app.
Note: This step only applies to older Macs and PCs. Apple discontinued iTunes for Mac on macOS Catalina (10.15) and replaced it with the pre-installed Apple Music app. PC users still need to download iTunes, though.
ACTIVATE THE IPHONE.
The first thing to do with your new iPhone is to activate it. You can do everything you need right on the iPhone and start using it in just a few minutes. The basic setup process activates the iPhone and lets you choose basic settings for using features like FaceTime, Find My iPhone, iMessage, and related tools.
SET-UP & SYNC YOUR IPHONE
After you’ve got iTunes and your Apple ID in place, it’s time to plug your iPhone into your computer and start loading it with content. Whether that’s music from your music library, ebooks, photos, movies, or more.
If you’ve synced with a USB cable once, you can change your settings and sync over Wi-Fi from now on. Or, use iCloud and avoid cable syncing altogether.
CONFIGURE ICLOUD
Using your iPhone gets much easier when you have iCloud—especially if you’ve got more than one computer or mobile device that has your music, apps, or other data on it. iCloud collects a lot of features together into a single tool, including the ability to back up your data to Apple’s servers and re-install it over the internet with one click or automatically sync data across devices. It also allows you to re-download anything you’ve bought at the iTunes Store. So, even if you lose or delete them, your purchases are never truly gone.
You can LEARN more aBout iCloud FAQ, Automatic download of Apps and Music, iTunes Match and How To Use iCloud To Transfer text messages from one iPhone to another.
Note: Setting up iCloud is part of the standard iPhone set-up process, so you shouldn’t need to enrol for it separately.
SET UP TOUCH ID or FACE ID.
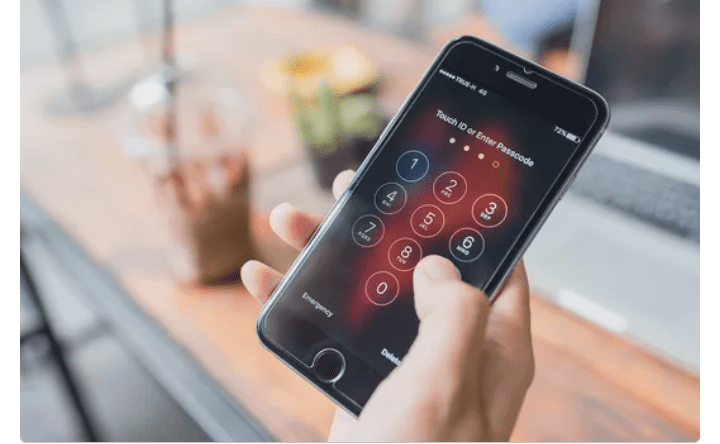
Touch ID is the fingerprint scanner built into the Home button on the iPhone 5S, 6 series, 6S series, 7, and 8 series (it’s also part of some iPads). Face ID is the facial recognition system built into the iPhone X and later iPhones. Both features work in place of a passcode to unlock the phone, but they also do much more than that.
With these features set up, use your finger or face to make iTunes or App Store purchases and these days any app can use the features, too. That means that any app that uses a password or needs to keep data secure can start using it. Not only that, but they’re also an import ant security feature for Apple Pay, Apple’s wireless payments system. Both Touch ID and Face ID are simple to set up and easy to use—and makes your phone more secure—so you should use whichever one is available on your phone.
Learn how: How To Set Touch ID and How To Set Up Face ID
Note: Setting up Touch ID or Face ID is now part of the standard iPhone set-up process, so you shouldn’t need to configure it separately.
SET UP APPLE PAY
If you’ve got an iPhone 6 series or higher, you need to check out Apple Pay. Apple’s wireless payment system is easy to use, gets you through check-out lines faster, and is much more secure than using your normal credit or debit card. Because Apple Pay never shares your actual card number with merchants, there’s nothing to steal.
Not every bank offers it yet, and not every merchant accepts it, but if you can, set it up and give it a shot. Once you’ve seen how useful it is, you’ll look for reasons to use it all the time.
Note: Setting up Apple Pay is now part of the standard iPhone set-up process.
SET UP MEDICAL ID
With the addition of the Health app in iOS 8 and higher, iPhones and other iOS devices are starting to take important roles in our health. One of the easiest, and potentially most helpful, ways you can take advantage of this is by setting up a Medical ID.
This tool lets you add information that you’d want first responders to have in case of a medical emergency. This could include medications you take, serious allergies, emergency contacts—anything someone would need to know when giving you medical attention if you aren’t able to talk. A Medical ID can be a big help, but you have to set it up before you need it or it won’t be able to help you.
LEARN THE INBUILT APPS.
While the apps you get at the App Store are the ones that get the most hype, the iPhone comes with a pretty great selection of built-in apps, too. Before you dive too far into the App Store, learn how to use the built-in apps for web browsing, email, photos, the camera, music, calling, notes, and related utilities.
WHEN YOU ARE READY TO GO DEEPER
At this point, you’ll have gotten a pretty solid handle on the basics of using the iPhone. But there’s so much more to the iPhone than the basics. It holds all kinds of secrets that are fun and useful, such as how to use your iPhone as a personal hotspot, enabling the Do Not Disturb feature, using Control Center and Notification Center, and how to use AirPrint.
And if The iPhone Is For The Kids
Finally, review some important things to know if you’re a parent and the new iPhone isn’t for you, but instead belongs to one of your kids. The iPhone is family-friendly in that it gives parents tools to protect their children from adult content, prevent them from running up huge iTunes Store bills, and insulate them from some online dangers. You may also be interested in how you can protect or insure your child’s iPhone in case it gets lost or damaged.
TIP: You can also hide some apps from the view of kids if the phone is for the kids or you don’t want to use those apps again.


