You badly want to show someone where you are having a problem in the settings or you want to record a video on an online webinar, Facebook, youtube, etc on Mac, the best way is to do a screen recording of your Mac screen.
You can do a screen recording of your mac and include the audio, show pointer, full or portion recording, etc. Read on to see how to do screen record on mac.
How To Screen Record On Mac With Keyboard Shortcuts.
To record your mac computer screen, press the Command + Shift + 5 key on your keyboard. Select how you want your recording, whether full screen or just a portion in the pop-up window at the bottom of your screen. Next click Record when you are finally done press Command + Control + Escape It is that simple.
1. Press the Command + Shift + 5 key.
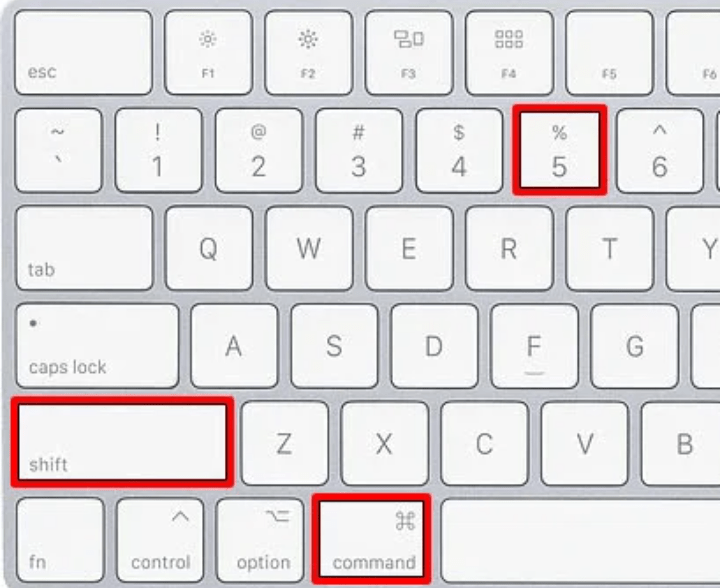
This command brings up the screenshot toolbar at the bottom of your mac computer.
2. Choose how you want your recording – full screen or portion.

From the left, the fourth button but first in the red square is the full-screen recorder button, and the immediate one is the portion option. By hovering your mouse over the buttons, you will know their functions.
If you chose to record a portion of your screen, you will see a broken line indicator box indicating your selected area and you can click hold on its edges, drag to maximize or minimize around the portion you want to record.
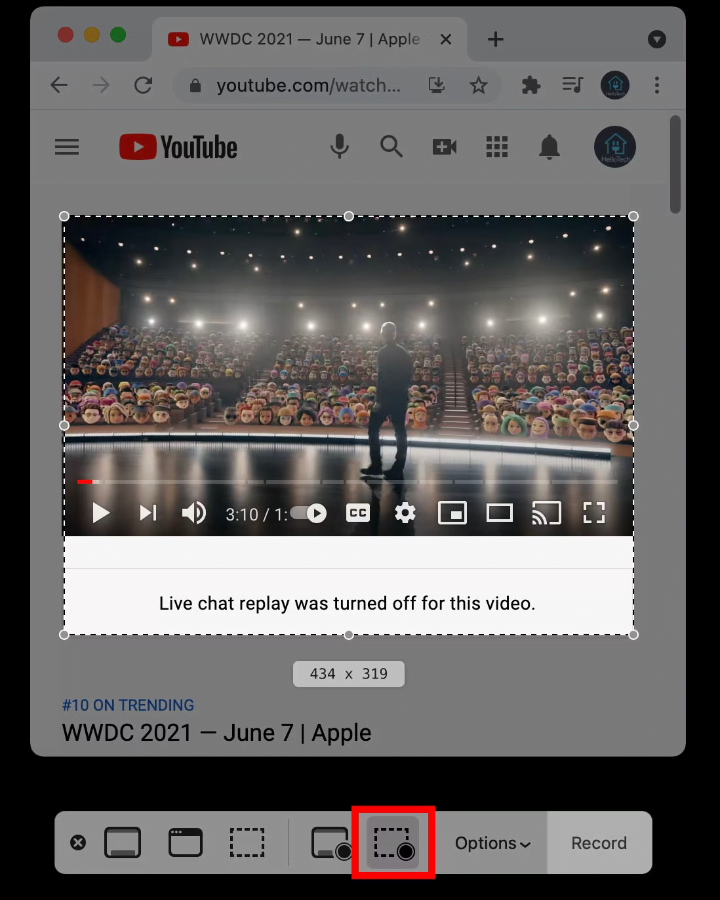
3. Next, click on Record.

This button at the far end of the toolbar will do the recording job.
4. Finally press Command + Control + Escape.

How To Record Audio Or Voice During Screen Recording On Mac.
In the screenshot toolbar, look for Options, the sixth button from the left, and click on it. From there, you can choose where to save the recorded file – desktop, mail, documents. Set a timer – a timer to the start of the recording and finally connect your microphone with which you can record a voice or audio during the recording.
How To Screen Record On Mac Using QuickTime.
You can use QuickTime if your Mac is older and the keyboard doesn’t work for you.
Open the QuickTime app and click the File in the menu bar at the top of your screen. Then select New Screen recording and click the red button in the pop-up window.
1. Open The QuickTime Player App.
The app comes pre-installed on Mac computers but in case you don’t have it, you can install it from here.
2. Click File
You will see this in the Apple menu bar at the top of your screen on the QuickTime Player app.
3. Select New Screen Recording.
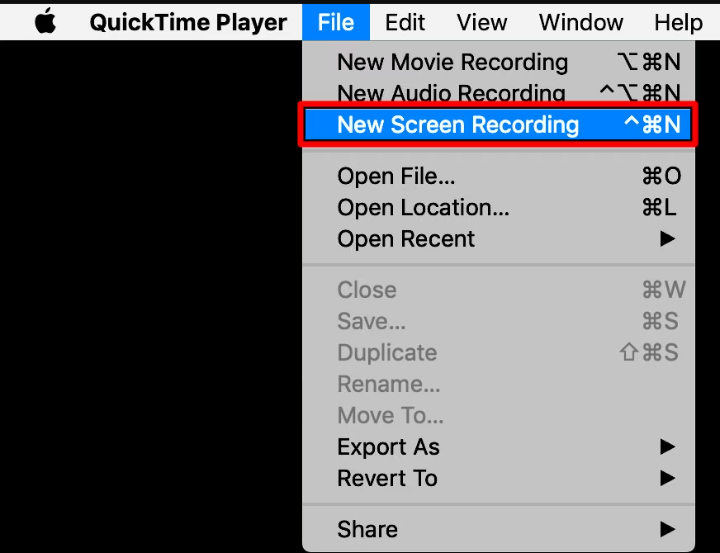
This will open a new screen recording screen window.
4. Click the red button to start recording.
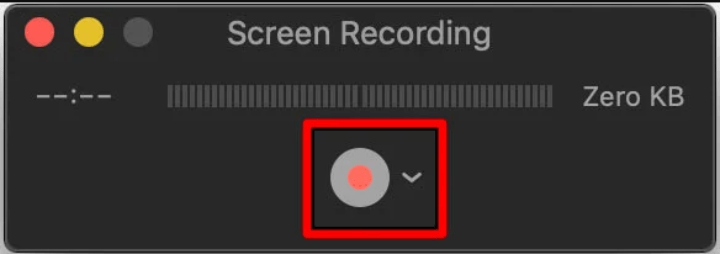
You can click anywhere on the screen to record the full screen or click hold drag to select a portion of the screen you want to record.
And if you want to record an audio with the video, click the dropdown arrow beside the red recording button and choose the microphone you want to use.
To stop the recording, click the black circled button at the upper left of the screen, and QuickTime Play will open the video automatically where you choose to edit, play or share the recorded file.
You can save the file by clicking on File >> Save in the QuickTime menu.
And in case you want to employ a screen recorder for your Mac computer in recording your videos, here is the best list of screen recorders for MacMac
Read: Best Screen Recorders For Mac
Read: How To Do Screenshot On Mac